Top Reasons to Choose a Septic Tank Riser for Your Home
Sick of digging around in the dirt for the location of your septic tank every time the truck comes to pump your tank? That is where a septic tank riser comes in – the vertical extension that will bring your septic tank lid to the surface so you can easily locate it.
A septic tank riser gives you fast access for pumping, lower long term maintenance costs, and creates a safer and cleaner area on your property. There is no longer mud covering your yard, nor do you have to guess where your tank is located. This guide provides a complete walk-through on installing a riser on your septic tank including an estimate of the costs involved, and some easy maintenance tips to help you keep your septic system operating at its best.
Before starting, make sure to check your local regulations and call 811 to find out if there are any underground utilities in the area you plan to dig. Are you ready to stop digging and start saving money?

What is a septic tank riser and is it worth it?
The components of a septic riser system consist of the parts that allow the homeowner to access their septic tank from the surface of the earth. These kits include an adapter ring that fits on the top of the tank opening, a riser tube (or multiple tubes) to connect to the adapter ring and build the riser up to the finished grade of the yard, a rubber gasket to seal the tube to the adapter ring, and a locking lid to secure the riser when pumping.
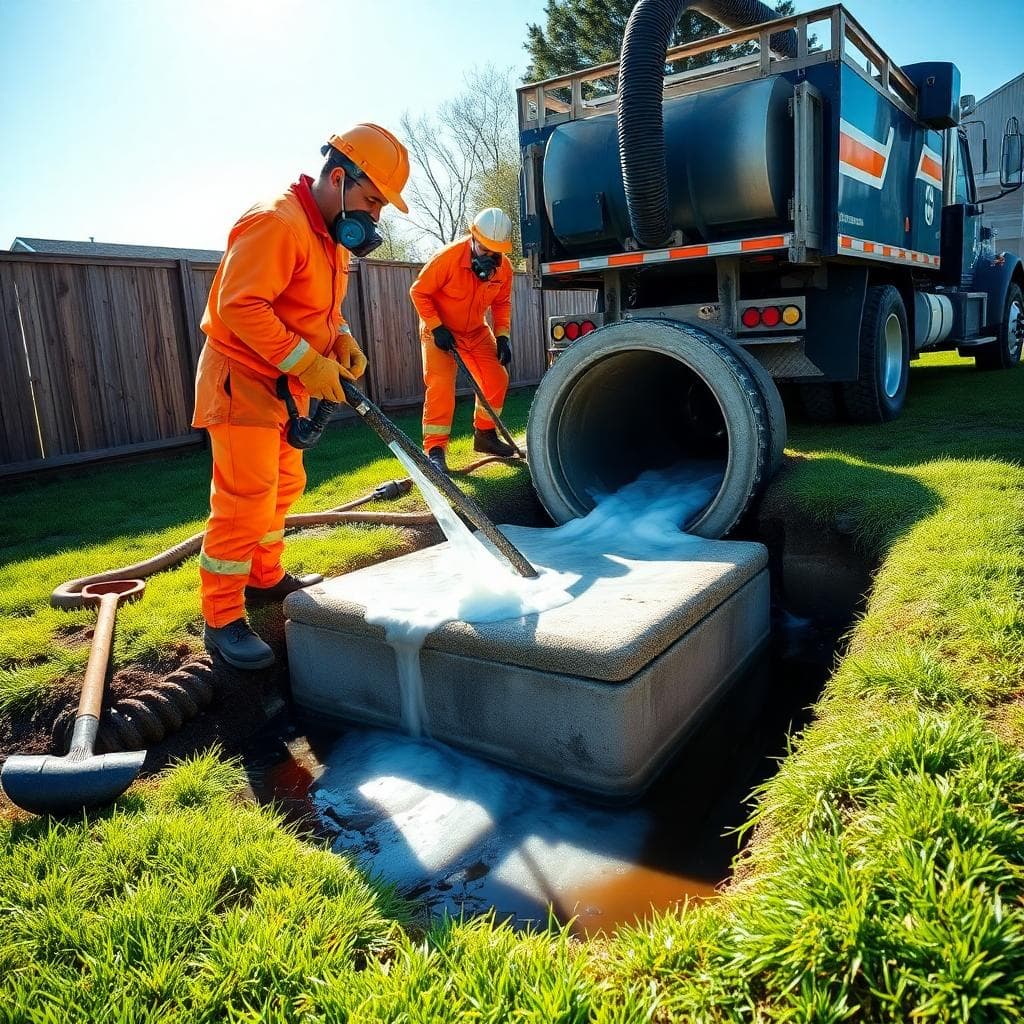
When a homeowner installs a riser, they will eliminate the need to dig into their yard to access the septic tank. This provides homeowners and pumping crews with quicker and cleaner access to the septic tank. Since the pumping crew does not have to spend as much time digging to access the septic tank, this results in reduced labor costs for the pumping company.
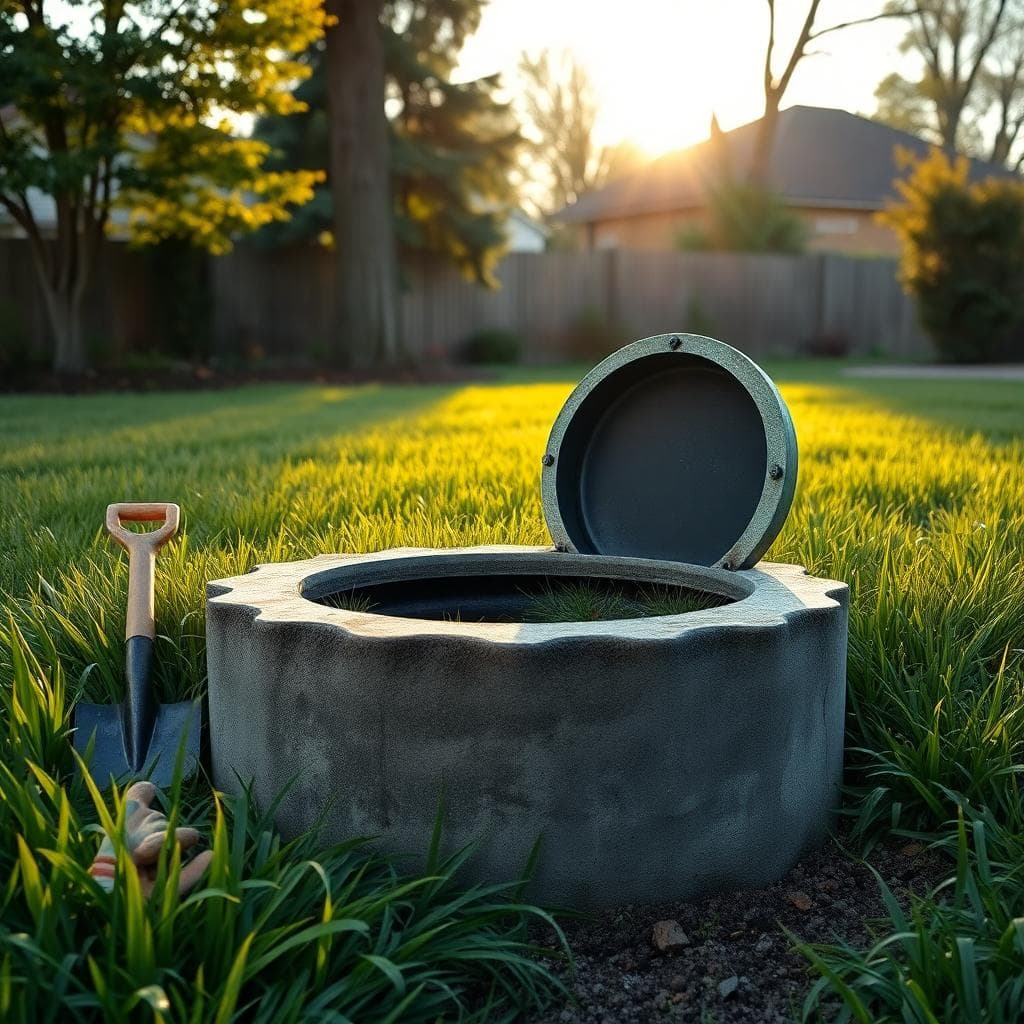
Additionally, since the lid of the riser sits on the surface of the yard, mowing of the yard remains normal. Also, modern risers come with locking lids, which provide an additional layer of safety for children and pets who may be curious about what is inside the riser.
Homeowners prefer risers for several reasons. One reason is that they protect the yard from damage. Since there is no longer a need to dig trenches to access the septic tank, there will be no need to fill the trenches back in periodically. Installing a riser also helps to create a proper seal around the riser tube and lid, which prevents rain and dirt from entering the septic tank. This creates less messy situations and fewer surprises for homeowners.
It’s easy to see why homeowners would want to install a riser system. They do not have to dig, service is provided faster, the cost of services will be less over time, the lids are safer than before, and the yard will remain clean. However, there are some downsides to installing a riser system.
Some homeowners may find that the upfront cost of purchasing and installing the riser is too expensive. Another disadvantage of installing a riser system is that the lid is now exposed and if the homeowner does not choose to landscape around it, the riser will be noticeable. Finally, if the riser is not properly sealed, water could enter the septic tank, making maintenance of the septic system more difficult.
Septic risers are best used by homeowners after a new septic pump-out, in colder climates where the frozen ground makes digging more difficult, and when the septic tank is located very far below the surface of the yard. Homeowners whose tanks are 12 inches or more below the surface of the yard will realize the benefits of installing a riser system almost immediately.
How a septic tank riser works
A riser is connected from the top of the tank to a gasketed lid located on the ground surface. Gaskets at all connections seal against rain and/or runoff water as well as soil preventing them from entering into the tank. This enables the bacteria inside the tank to function as intended.
Once the septic tank pump operator arrives at your location, they simply open the padlock to access the riser, then lift the lid to initiate their work. There is no need for excavation time nor additional labor costs associated with this type of visit. The majority of these visits take place in mere minutes and leave the surrounding area clean and uncluttered.
Sizing and fit: measure once, buy right
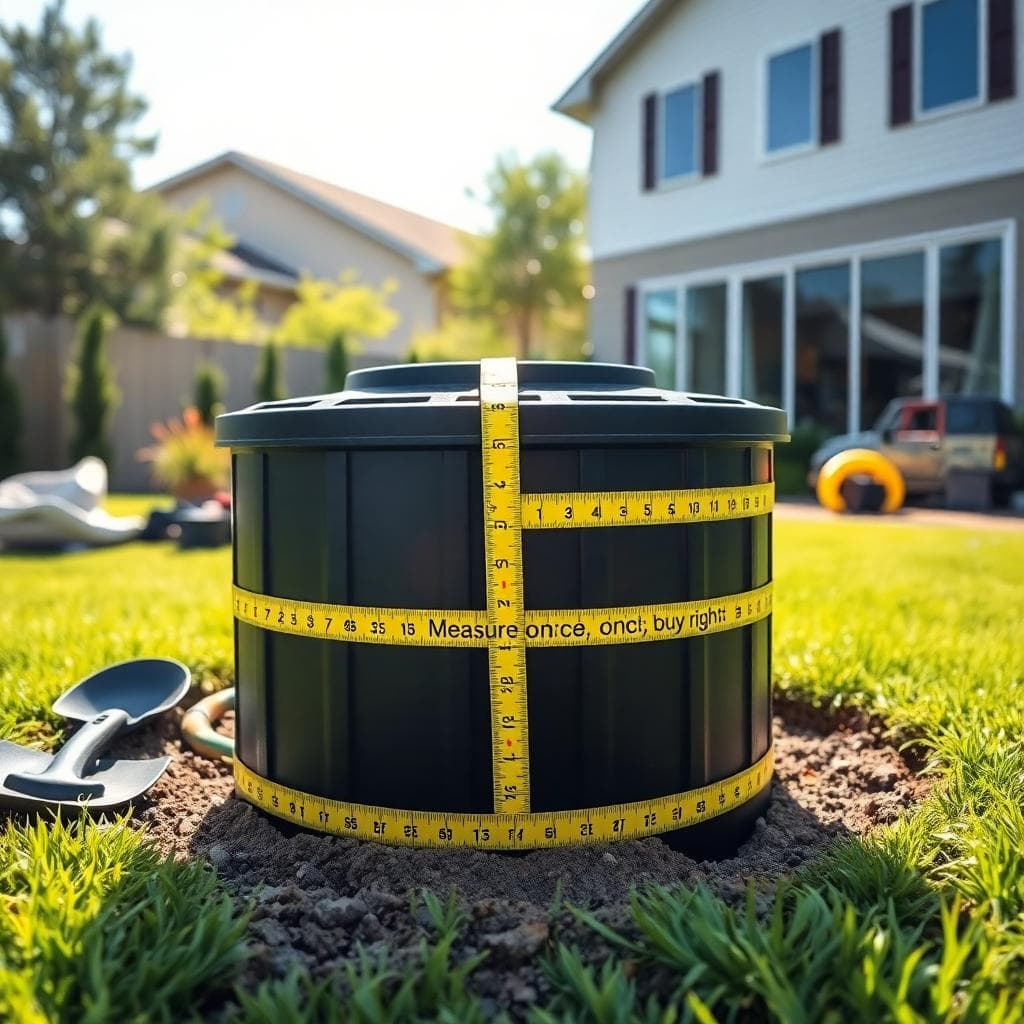
- Don’t measure the old lid; instead, take a measurement of the tank opening (diameter).
- Take a measurement from the tank top down to finish grade level.
- Verify that bolt pattern is identical on the tank collar and select the correct adapter ring.
- You can use stackable riser sections to achieve the exact height you are looking to achieve.
- Plan so your new lid sits flush with the lawn in order to allow for easier mowing and safety.
Pros and cons homeowners care about
- Easier service: no digging (faster pumpouts), no trenching (cleaner yard).
- Lower cost in the long run: labor savings are cumulative; cleaner yard: no holes, no mud trenches;
- Safer access: locking lids protect children & pets from accidental falls into the hole.
Cons to note:
- Initial upfront costs of parts & labor.
- Visible lid if not landscaped or color matched.
- Possible water infiltration if seal(s) is/are poor. The bottom line: a septic tank riser will pay for itself when your lid is deeper than a few inches or you have regular service calls.
How to install a septic tank riser (DIY step by step)
You will be able to install a riser using your own hand tools and time. Clean surfaces of your tank, firm connections for the riser to your tank, and sealing the connection to prevent leaks are key to a successful riser installation.
Call 811 before you start digging and always check your local building codes before starting. Also never get into an open septic tank because toxic gases will overtake you quickly; if you have poor handling of a tank lid, it could be hazardous.
Hire a professional if you think there may be issues such as a cracked top on your tank, unstable ground, or high water table in your area. In the long run, hiring someone at this point will save you money compared to having to fix an improper installation that has already been installed.
Tools and materials checklist
- Gloves
- Eye Protection
- Concrete Anchor(s)
- Screws (stainless steel)
- Level
- Tape Measure
- Shovel
- Butyl Rope Or Mastic Sealant
- Polyurethane Sealant
- Locking Gasket Lid Adapter Ring Riser Section(s)
- Gravel/Sand (for Backfill)
- Drill/Driver
Properly clean the tank surface to ensure the seal will stick to it, remove any debris of concrete, dirt, etc., and don’t let your children or pets near the tank while you are working on it. Do not work alone. When digging, keep the spoil pile away from the tank in case it has any effect on the tank.
Prep the site and expose the tank safely
Locate the Tank and Access Lid. Gently probe around the area that has the access lid, then, make a neat little hole to expose the lid area of the tank. Place your spoil pile away from the tank so as to avoid stressing the tank.
Prepare the Surface of the Tank for Seals. Clean the tank so that when the sealant is applied, it will stick. Remove all debris (loose concrete, dirt, etc.), or old gasket pieces. Do not have children or pets near an opened tank; and do not lean over an opened tank. If possible work in pairs.
Install the adapter ring and riser
Locate the Tank and Access Lid. Gently probe around the area that has the access lid, then, make a neat little hole to expose the lid area of the tank. Place your spoil pile away from the tank so as to avoid stressing the tank.
Prepare the Surface of the Tank for Seals. Clean the tank so that when the sealant is applied, it will stick. Remove all debris (loose concrete, dirt, etc.), or old gasket pieces. Do not have children or pets near an opened tank; and do not lean over an opened tank. If possible work in pairs.
Seal, backfill, and finish grade
Seal every joint with polyurethane where the manufacturer recommends. Seat the lid gasket and test the lock. In high water areas, consider an anti-float detail, such as a concrete collar, per the manufacturer instructions.
Backfill in thin layers, tamping gently to avoid shifting the riser. Shape a slight mound so rain sheds away from the lid. Set the lid flush with the lawn and lock it.
Costs, maintenance, and quick answers
A riser will cost you less than doing another round of deep digging. You pay for it once, and then you get to save on every future service visit. The maintenance of a riser is minimal and consists of checking the screws and seals. Most problems are minor and easily solved.
It depends on what local ordinances or regulations the health department has in place as to permits and rules may differ from town to town, but taking that one minute to call them first can keep you out of a lot of time consuming and painful situations.
How much does a septic tank riser cost in 2025?
- Cost of materials: $150 to $500 for kits made of plastics or fiberglass.
- Concrete installations can be priced at $200 to $600.
- The cost of labor can also range from $200 to $600.
- There are no costs for permits, which may run $0 to $150. Total installation price will generally fall into a range of $300 to $1100. Savings from quicker use of the service will amount to $50 to $150 per pump-out. Many owners will break even with one to three uses; after that, they will have total savings.
Maintenance tips for a clean, safe riser
- Check on it each year by tightening loose screws and checking the gasket.
- Test your lock (and maintain a low mowed area of grass around the lid).
- Do not drive over your tank lid, as this may void the warranty, unless you have purchased a tank that can be driven over.
- For tanks in cold climates, consider using a well-insulated tank cover and try to keep the snow surrounding the tank compacted.
- Worn-out seals should be replaced to prevent odors and rain from seeping into your tank.
Common problems and quick fixes
- A “wobbly” riser may be caused by either loose anchors on your riser ring or an uneven base. Level the ring again and re-secure the anchors.
- An odor coming from the area of the lid is likely due to the failure of the gasket (the rubber around the lid) or perhaps some loose screws. If it’s a leaky gasket replace it and make sure all screws are tightened.
- Water appears within the riser, the cause could be a leak at one of the seals or improper grade. Check for leaks and ensure the soil slopes down away from the riser.
- There are cracks in the tank and/or you have high water table? Call a professional now.
Do you need a permit or inspection?
Before you begin, be sure to contact your local health department as many jurisdictions have specific requirements for such things as a child resistant lock and a flush mounting on grade and some require an on-site post installation inspection. Also, check your HOA (Homeowners Association) regulations regarding what is acceptable regarding the visibility of the lid and the approved landscape options available surrounding the riser.
Conclusion
Septic tank risers will make life easier by shortening service times, keep your lawn free from mess and add an additional layer of safety with a locking lid. Installing a septic riser is also relatively easy; you can accomplish it with hand tools or hire a professional if you believe the site may present difficulty.
The subsequent steps to follow are very straightforward: measure your opening, select the proper material, estimate the cost of a kit, contact 811 to locate utilities and then plan the installation prior to the next scheduled pump out.
With a septic riser, you will save money and eliminate the need to dig up your lawn each time the truck comes to service your system.
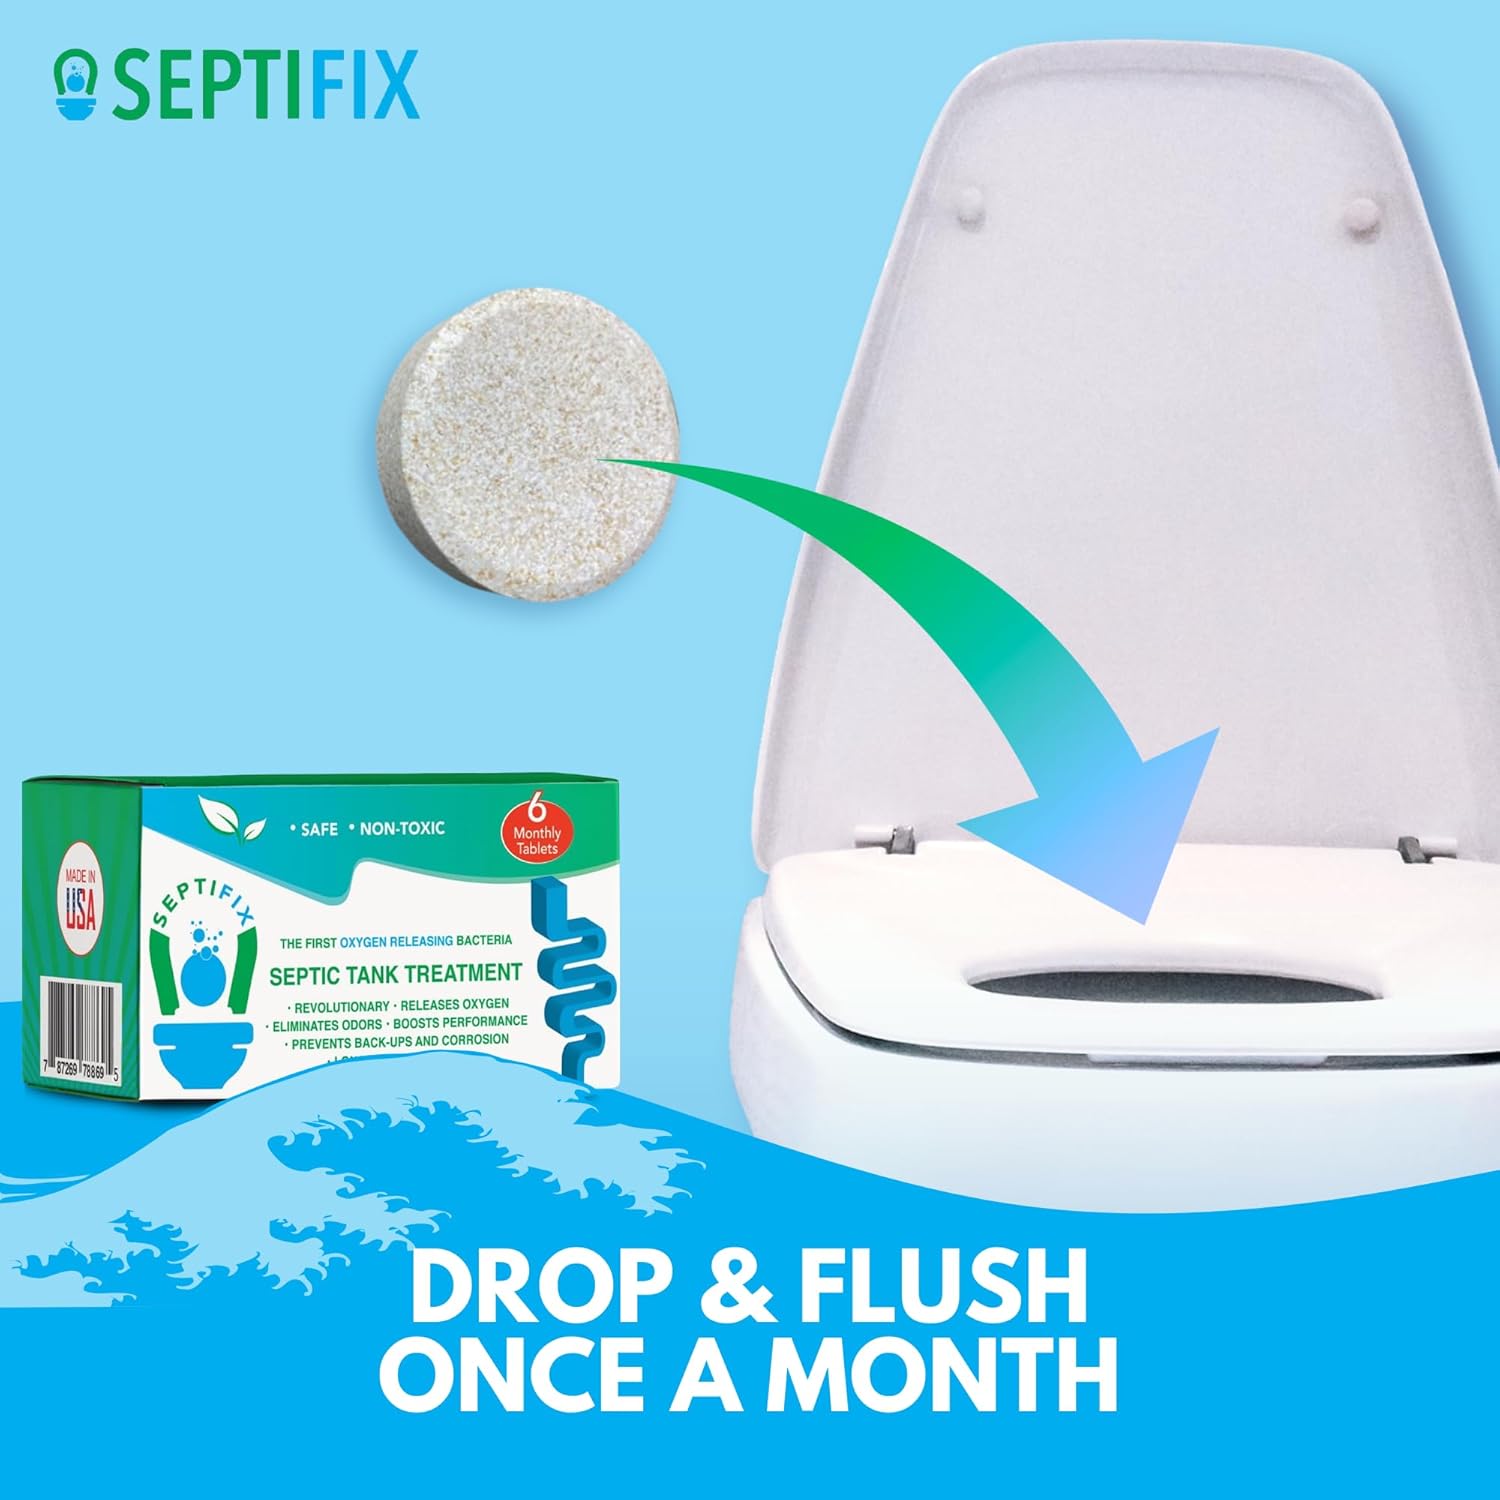
Septifix offers a simple monthly tablet designed to support septic tank maintenance, reduce odors, and help break down organic waste.

Affiliate Disclosure
This article may contain affiliate links. If you purchase a product through one of these links, we may earn a small commission at no extra cost to you.
We only link to products that may be relevant to septic system care and maintenance. However, affiliate relationships do not affect our opinions or recommendations. Always read product labels and consult a licensed septic professional for system failures, backups, or repair needs.
Additional Septic System Resources
From Septic Tank and Treatment
- Septic Tank Pumping, learn why routine pumping helps prevent backups and drainfield damage.
- Septic Safe Laundry, discover how laundry detergent and water use can affect your septic system.
- Issues With Septic Tanks, review common warning signs and causes of septic problems.
- Sludge in a Septic Tank, learn how sludge buildup affects tank capacity and pumping needs.
Trusted U.S. Resources
- How Septic Systems Work, from the U.S. Environmental Protection Agency.
- How to Care for Your Septic System, with tips for inspections, pumping, water use, and drainfield care.
- Frequently Asked Questions About Septic Systems, answers to common homeowner questions.
- EPA SepticSmart Resources, practical septic maintenance guidance for homeowners.
- Septic System Owner’s Guide, a detailed guide from North Carolina State University Extension.
Always follow your local health department’s rules and your septic professional’s recommendations. Septic tank designs, riser requirements, and inspection rules can vary by location.
Related Posts